
Update 2019/03/27: I’ve added enrichments (campaign + user agent parsing), and made the dataflow configuration as small as possible (1 worker, standard instances) to save costs.
A while ago, Simo Ahava published a really nice in-depth post on how to install snowplow on the Google Cloud Platform. I followed along his post and managed to get it working.
But.. following that guide took me quite some time. So I decided to take even more time to automate this process.
And it worked. I have made a script to automate the Snowplow install in the Google Cloud and publish it on github for you to use.
What’s in the package?
The scripts contains a configuration file that contain the main parameters of the script. These parameters are most important:
- the cloud project name
- the path to the credentials file – to authenticate against the project
- zone/region information – where is your data going to live?
- the DNS name of your tracker
There’s also a templates directory that contains startup script templates and configuration files for your collector and iglu resolver.
What does the script do?
The script follows along Simo’s post. The only thing you have to do before starting is create a project and a service account, described in chapter one.
After that, In short, the script will do the following.
- initialise gloud (check credentials, and enable dataflow api)
- create all the pubsub topics and listeners, so collector data can be stored/read
- create (or use, if it exists) a storage bucket to place all config files (which are generated for you as well, in this step)
- create a load-balanced collector instance group, as follows:
- create a template VM instance + firewall rules
- create a group (with max 2 instances by default)
- load-balance this via a health-check, backend service, and URL map
- create a Google Managed SSL certificate
- create an SSL proxy with a public IPv4 address
- Optionally, if you have Google hosted DNS, you can create the A-record automatically
- create an instance that handles the beam enrich, dataflow and bigquery loader. This step also creates the Big Query dataset for you
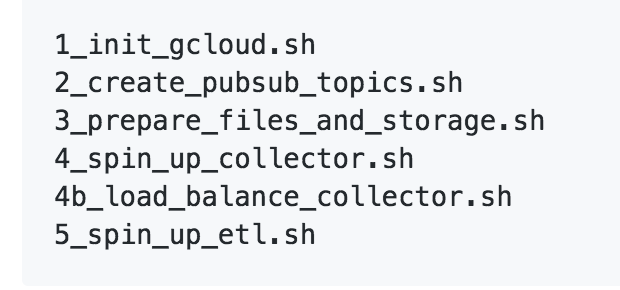
If you have set the correct configuration parameters, running the following 5 commands will do all the work for you.
Known caveats / things to take note of
The script assumes (for the most part) that everything works. There is some error checking, but not much. Here’s some stuff to check:
- storage bucket names are global. Choose one that is already writeable by your service account, OR choose a name that does not yet exist somewhere in the world.
- After creating a managed SSL certificate, have patience. You cannot use it immediately, so your instance group will be up, but SSL errors will occur. Give it 30 minutes.
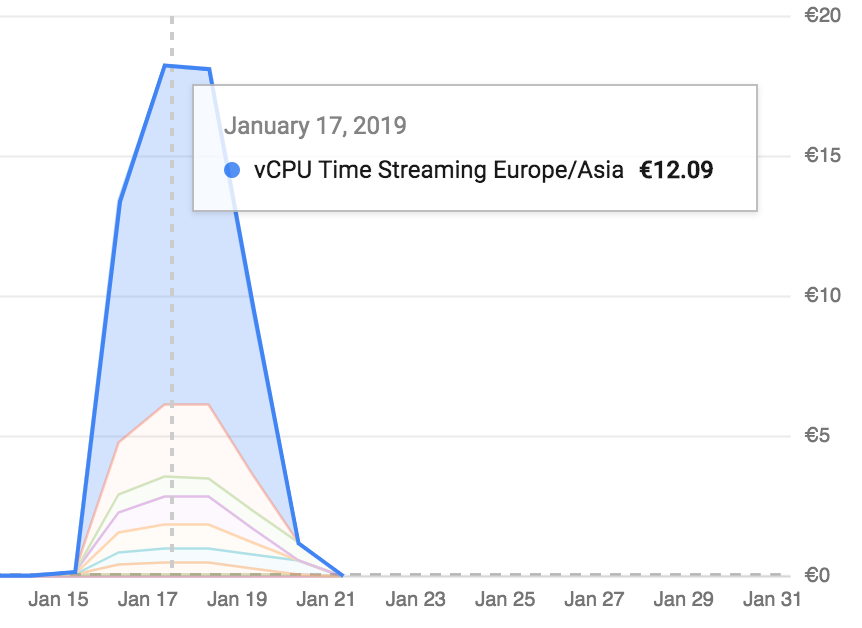
- The ETL process (dataflow, BQ loader) is quite CPU-heavy, so watch your GCE cost. Shutdown your instance and drain all dataflow processes when you’re not needing real-time BQ inserts. Ballpark figure is ~ €12 euros per day for a web site with a couple of hundreds of hits per day (read: my blog).
What’s next?
Right now, the scripts are working, but lack flexibility. E.g. they are grouped together in large chunks. It’s not really easy to call just one function.
Obviously: some snowplow parts are missing from this install, you have to set those up yourself, like enrichments, and hosting your own schemas.
So.. I accept suggestions, improvements, and most of all: please let me know if something doesn’t work for you.
So: questions, comments: let me know in the comments here, shoot me a tweet, or create an issue on github.
Thanks – and don’t forget to spread the word!


Leave a Reply